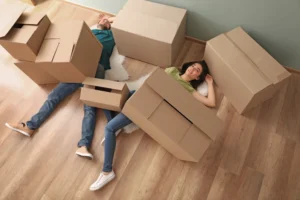
How To Move A Hot Tub is a question that many homeowners have when moving or renovating their backyard. As much as hot tubs are unwieldy objects, you need them in places where you can use your hands, and those spaces tend to be tiny. An empty regular model can weigh 400 to 1,000 pounds and more than 2,000 pounds when filled, so you have to be well prepared.
This all-inclusive hot tub moving guide is designed to take you through every process so you can concentrate on how to move a hot tub without damage to yourself or your hot tub without causing injury or getting overworked when moving a hot tub or any other heavy equipment.
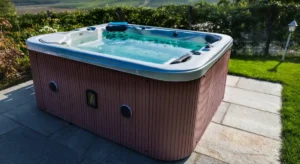
Understand the Risks and Safety First
Prior to relocating an above ground hot tub it’s important that you understand the risks associated with that move.
Hot tubs are:
- Challenging to move and balance
- Heavily weighted with an awkward shape High centre of gravity
- Handle improperly, and they can easily tip over
To be safe when moving a hot tub always use:
- Gloves heavy-duty gloves
- Wear sturdy closed-toe shoes (ideally hiking boots!)
- Back support should be worn if you are lifting3 to 4 (Or More People) Help Is A Must When moving a hot tub is NOT a one person job, Whether you need help just lifting the shell or with moving the whole tub, get as many hands on deck as possible.
Don’t even think about doing this on your own. When in doubt, hire the professionals.
DIY or Professional Movers?
One of the most daunting questions in this guide to moving your hot tub is should you do it yourself or hire the professionals?
You can Do It Yourself If:
- You Have a flat and open path
- If the distance is short
- You have a few hands
- You have proper equipment
Hire the Pros If:
- Space is tight or complicated.
- There are stairs or slopes
- The hot tub is huge or recessed
- You want to minimize risk
- Pros make doing a hot tub move safely quicker and more secure, especially on challenging moves.
- What You Need: Tools & Equipment
- You need to have the right tools when transporting an above-ground hot tub.
Necessary materials:
- Using furniture dollies or spa dollies
- 2×4 or 4×4 wood planks
- Ratchet straps or lifting straps
- Over-blankets (moving blankets)
- Stretch wrap
- Screwdrivers and wrenches
- Hose or pump for draining
- Truck or trailer and ramp
With the right tools it’s easy to move a hot tub safely!
If your tub is oversized, in-ground, or located on a steep slope, hiring professionals like sherman oaks movers is often the smartest choice.
Plan the Move in Advance
Preparation is crucial in any How to Move a Hot Tub manual. Before making the move:
- Take measurements of the hot tub
- Take measurements of the doors, gates, and pathways
- Look out for things like stairs or tight corners
- Locate uneven ground or inclines
Detailed preparation will ensure everything runs smoothly as you transport an above ground hot tub.
Step-by-Step: How To Move A Hot Tub
Step 1 – Turn Off Power
Be sure to disconnect the power first.
- Switch off the circuit-breaker
- Unplug the hot tub
- Cables Store securely
This is crucial when moving a hot tub.
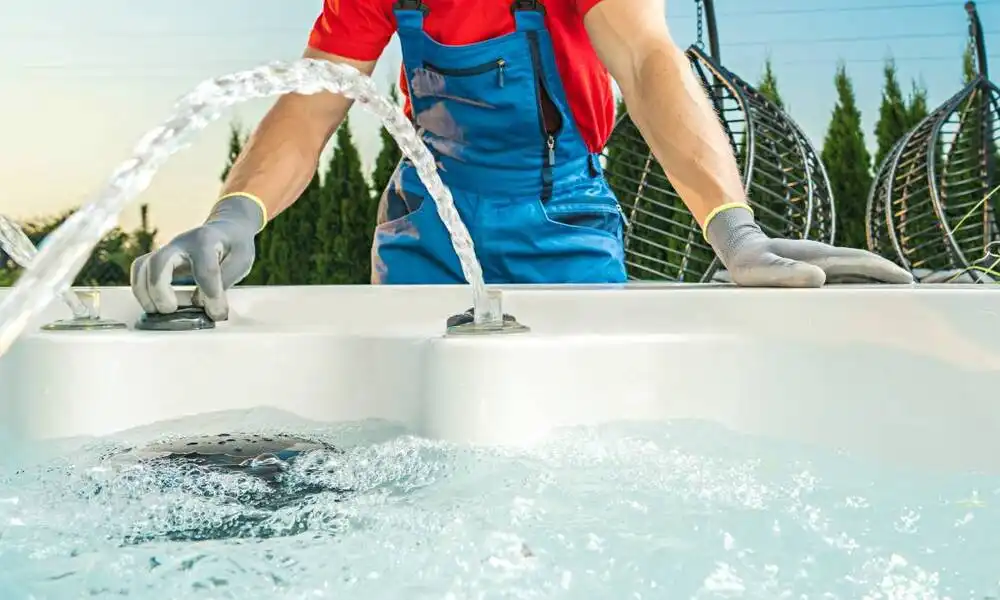
Step 2 – Drain and Clean
Drain it all the way.
- Use hose or pump
- Divert water from your home
- Dry the tub completely
Tub is lighter and safer to move when it’s dry.
Step 3 – Remove Accessories
Remove any attachment or accessory:
- Covers
- Steps
- Filters
- Panels
Wrap and label all the things. When you are finished with this part of the hot tub move guide reassembly will be much easier.
Step 4 – Prepare the Path
Clear the path all the way down to the floor.
- Eliminate obstacles
- Place plywood over the dirt patches
- Make sure it’s level
This is a must in order not to tip your hot tub when you move it.
Step 5 – Lift Carefully
Get a group of at least 3–4 people to help.
- Lift slowly and friends stop motion
- Push boards or dollies under
- Stabilize the tub
You need to coordinate well if you’re going to be moving an above ground spa unit.
Step 6 – Move Using Dollies
Put dollies beneath both ends of the tub and fasten it.
- Use the waist straps to secure in place
- Proceed slowly with spotters
- Hold your horses
This is what you need to do if you want to successfully move a hot tub over any type of ground.
Step 7 – Load Onto Truck
Use a liftgate or ramp.
- Push or pull cautiously
- Keep the tub level
- Ratchet Strap it down
Loading correctly is a key part of this hot tub moving guide.
Step 8 – Transport Safely
During transport:
- Drive slowly
- Avoid sharp turns
- Regular strap inspections
Good driving avoids damage when you’re moving a hot tub safely.
Step 9 – Unload and Position
Unload at the new place with care.
- Then dollies again.
- Place the tub on a flat surface.
- Slide the position slowly.
Don’t ever drag a tub, as it can scratch the bottom.
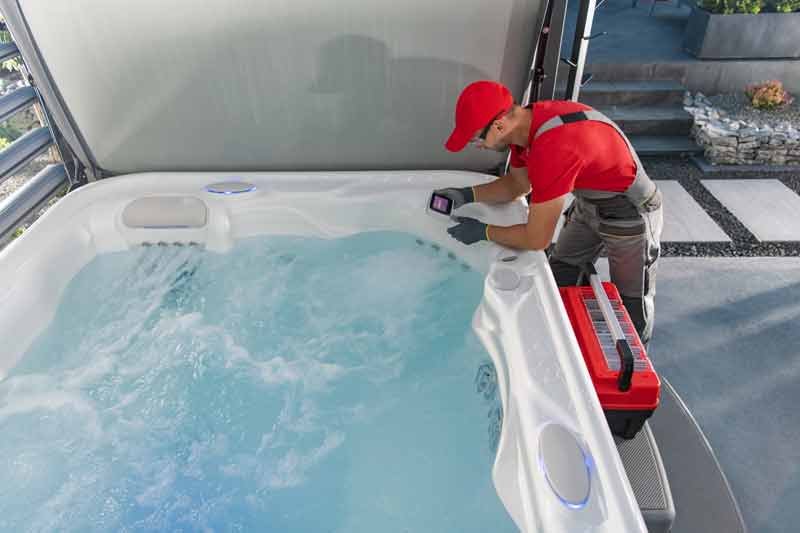
Step 10 – Reconnect and Test
The last step in the hot tub relocation guide:
- Plug equipment back in.
- Refill it.
- Look for leaks.
- Try everything.
This makes sure your tub can be used again.
Common Mistakes to Avoid When Moving a Hot Tub
- Avoid these problems when transporting an above ground hot tub:
- Getting it wet.
- Too few assistants are needed.
- Not using any equipment.
- Uneven ground? Straight in the face? No, thank you.
When You Should Always Call Professionals
There are en some situations need the professional’s assistance:
- Tight or urban spaces
- Multi-level properties
- Steep terrain
- Heavy or luxury hot tubs
- Crane-required moves
In such instances, experts are your best bet to safely move a hot tub.Quick Checklist

Quick Checklist
- Use this hot tub relocation checklist:
- Power down the unit
- Drain and dry out the tub.
- Take off accessories.
- Make a trail
- Lift with friends.
- Dollies and straps can be utilized.
- Load and tie-down.
- Drive carefully.
- Unload and set up.
- Plug back in and test it
Final Thoughts
Moving a hot tub is a challenging but manageable task with proper planning, equipment, and safety precautions. Whether you decide on a DIY approach or hire professionals, the steps outlined here ensure a smooth, safe relocation.
Chamomile Go encourages homeowners to assess their situation carefully and, when in doubt, seek professional assistance. For help with hot tub relocation or any moving needs, contact us to make your next move stress-free.
FAQs
Can I move a hot tub by myself?
It’s not recommended. Hot tubs are heavy and awkward, requiring multiple helpers or professional equipment to prevent injury and damage.
How long does it take to move a hot tub?
The time varies depending on distance, access, and team size. A local move can take a few hours, while long-distance relocations may require a full day or more.
Do I need to drain the hot tub completely before moving it?
Yes, draining is essential to reduce weight and prevent leaks or damage during lifting and transport.
What is the best surface to place a hot tub after moving?
A level, strong, and stable surface like a concrete pad, reinforced deck, or compacted pavers is ideal. Avoid soft soil or uneven ground to prevent shifting and damage.
Can I move a hot tub in bad weather?
It’s not recommended. Wet, icy, or muddy conditions increase the risk of slipping, tipping, or damaging the tub. Wait for dry, calm weather for safer handling.